
How to Make the Best Red Velvet Oreo Cheesecake: Easy, Delicious, and Irresistible!
Looking for an unforgettable dessert? Try this easy-to-make Red Velvet Oreo Cheesecake. Rich, creamy, and perfect for any occasion, get the recipe now!
Introduction:
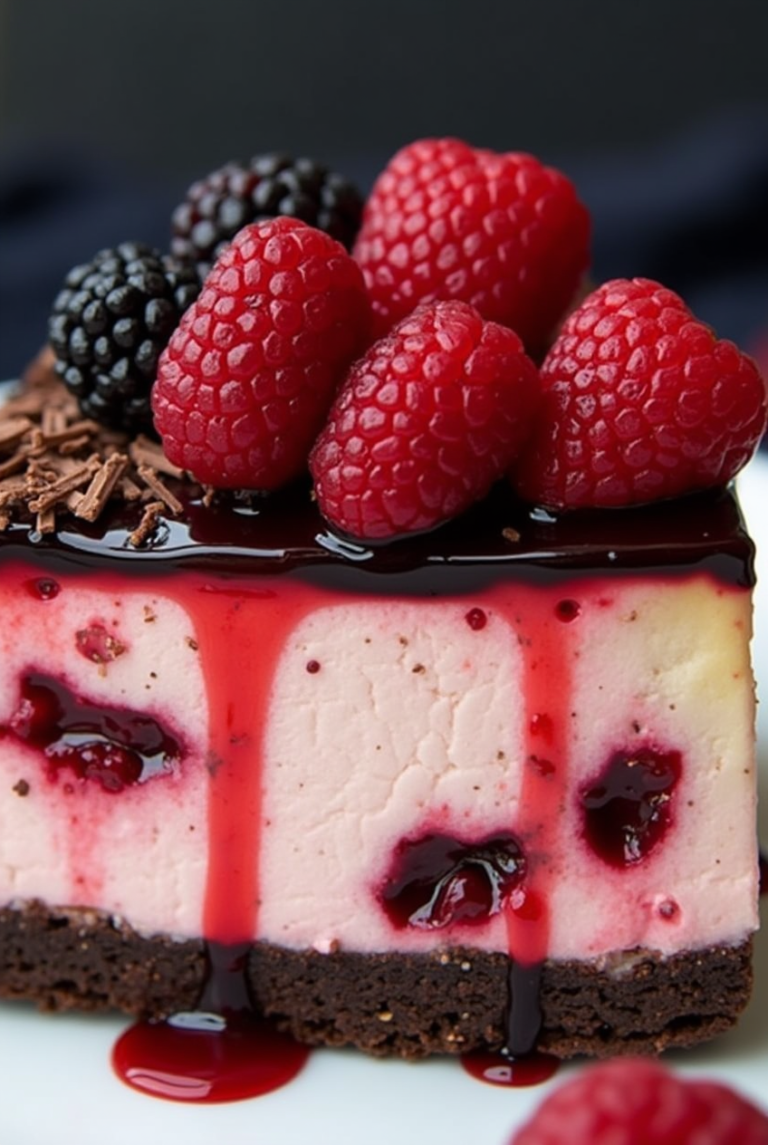
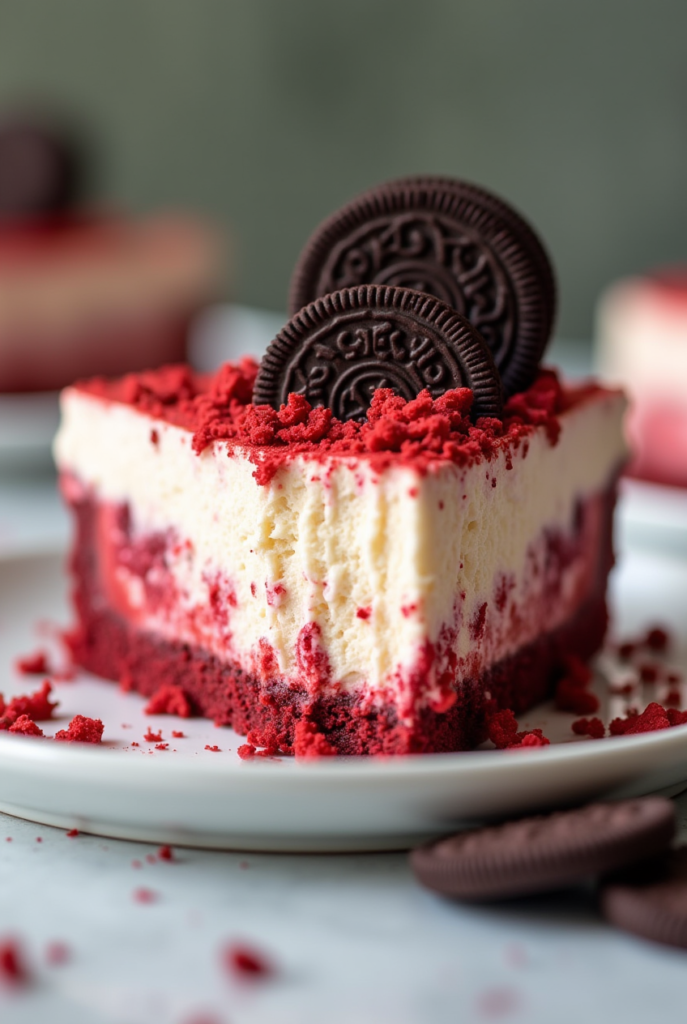
Are you craving a dessert that’s both indulgent and stunning? Red Velvet Oreo Cheesecake is the perfect fusion of two classic flavors—rich, velvety red velvet and the crunch of Oreo cookies. This no-bake cheesecake is perfect for any occasion, whether it’s a birthday, holiday, or just a simple weeknight treat. The best part? It’s surprisingly easy to make and requires minimal effort! Ready to dive into the world of decadent desserts? Let’s get started on crafting the Red Velvet Oreo Cheesecake that will steal the spotlight!
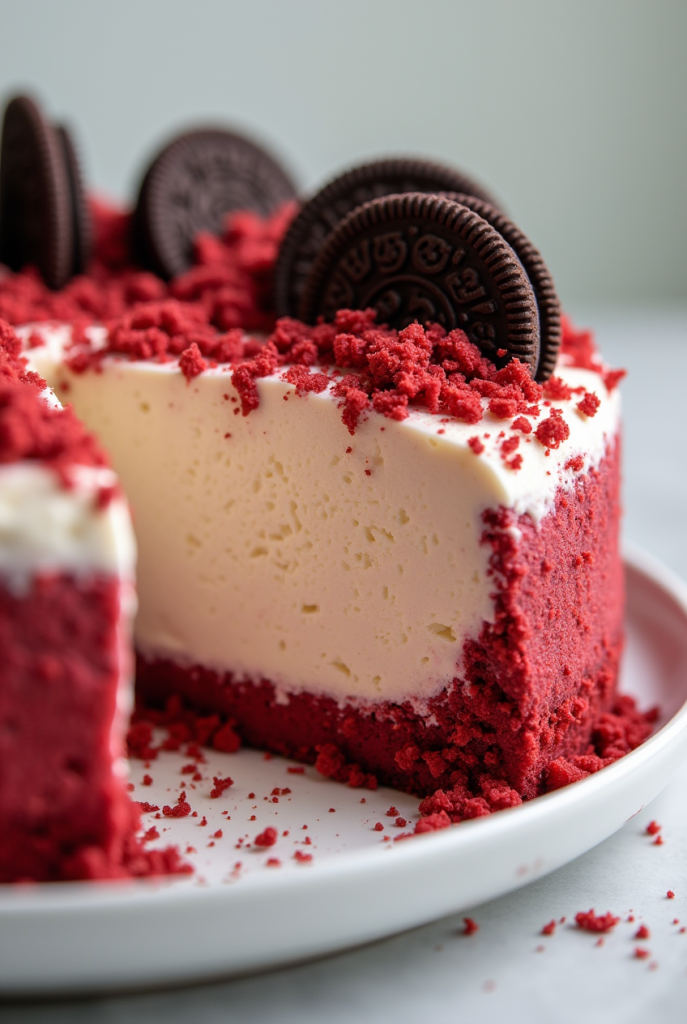
Table of Contents
1. Why Red Velvet Oreo Cheesecake is Perfect for You:
🟩 Decadent Flavor Combination: The rich taste of red velvet combined with the crunch of Oreo cookies offers a perfect balance of flavors and textures that everyone will love.
🟩 No-Bake Recipe: This cheesecake requires no baking, making it an easy, quick dessert that’s perfect for beginners or those short on time.
🟩 Perfect for All Occasions: Whether it’s for a party, family gathering, or holiday celebration, Red Velvet Oreo Cheesecake will impress guests and leave them craving more.
🟩 Customizable for Dietary Preferences: This recipe is flexible and can be easily adapted to fit different dietary needs, such as gluten-free or dairy-free, without compromising taste.
2. Ingredients List for 4 Persons:
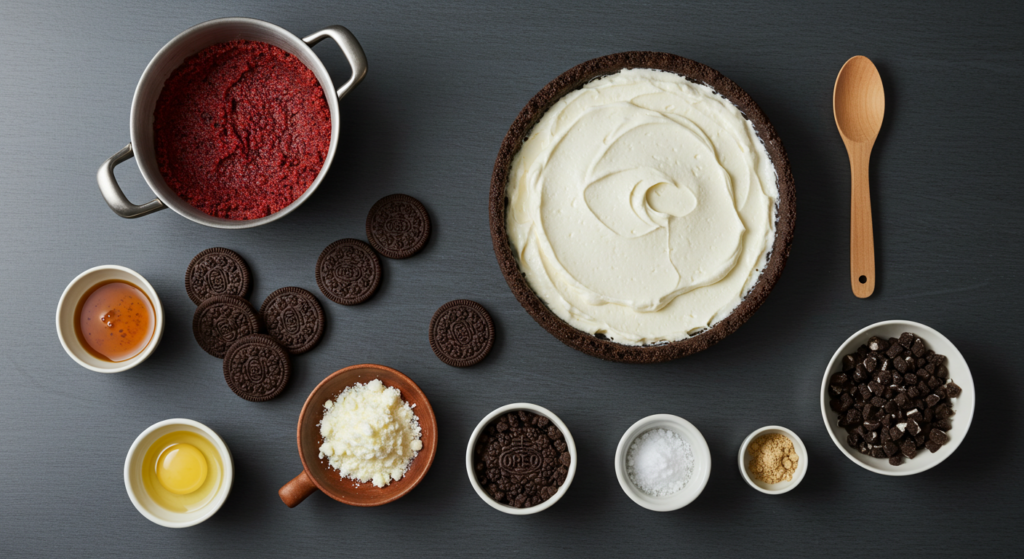
👤👤👤👤 Here’s what you’ll need to create this Red Velvet Oreo Cheesecake:
🟠 Red velvet cake mix – 1 box (for the crust)
🟠 Oreo cookies – 15 cookies (for the crust)
🟠 Butter (melted) – 5 tbsp
🟠 Cream cheese (softened) – 8 oz
🟠 Heavy whipping cream – 1 cup
🟠 Powdered sugar – ½ cup
🟠 Vanilla extract – 1 tsp
🟠 Red velvet cake crumbs – Optional, for decoration
🟠 Mini Oreos – Optional, for topping
3. Preparation Time and Servings:
- Preparation Time: 15 minutes
- Chilling Time: 4 hours (for the best texture)
- Total Time: 4 hours 15 minutes
- Servings: Makes 4 servings
4. Step-by-Step Instructions and Directions:
Step 1: Prepare the Oreo Crust
Start by crushing the Oreos into fine crumbs. You can do this in a food processor or place the cookies in a plastic bag and crush them with a rolling pin. Once the cookies are crushed, combine them with melted butter and mix until fully combined. Press the mixture into the base of a springform pan to form the crust. Chill in the refrigerator for 10-15 minutes to set.
Step 2: Make the Cream Cheese Filling
In a large mixing bowl, beat the softened cream cheese until smooth. Gradually add powdered sugar and vanilla extract, mixing well. In a separate bowl, whip the heavy whipping cream until stiff peaks form. Gently fold the whipped cream into the cream cheese mixture until fully combined, creating a light and fluffy filling.
Step 3: Assemble the Cheesecake
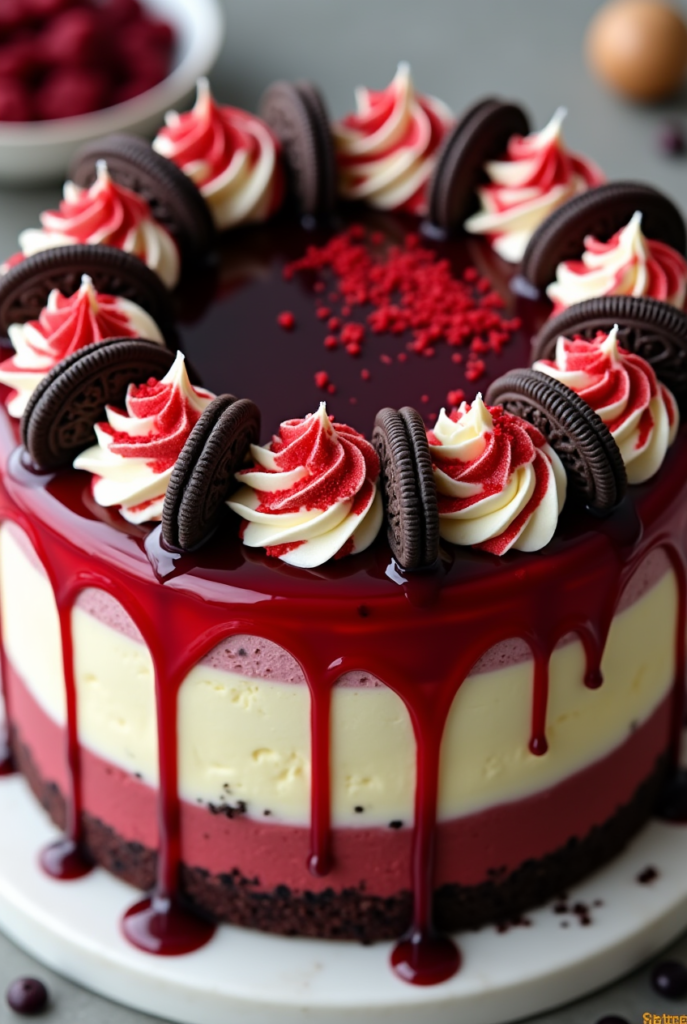
Pour the cream cheese filling onto the chilled Oreo crust, smoothing the top with a spatula. Decorate with red velvet cake crumbs and mini Oreos, if desired. Refrigerate the cheesecake for at least 4 hours, or overnight for the best texture.
Step 4: Serve and Enjoy
Once the cheesecake has set, remove it from the refrigerator and carefully release it from the springform pan. Slice and serve chilled, and enjoy the perfect balance of flavors in every bite!
5. Nutritional Information:
Each serving of Red Velvet Oreo Cheesecake contains:
- Calories: 450
- Fat: 30g
- Protein: 6g
- Carbohydrates: 35g
- Fiber: 3g
- Sugar: 22g
6. Calories per Serving:
Here’s the breakdown of the nutritional values for each serving:
| Nutrient | Amount per Serving |
|---|---|
| Calories | 450 |
| Fat | 30g |
| Protein | 6g |
| Carbs | 35g |
| Fiber | 3g |
7. Healthier Alternatives for the Recipe:
Looking for a healthier twist on your Red Velvet Oreo Cheesecake? Try these swaps:
- Dairy-Free: Use a dairy-free cream cheese alternative and coconut milk instead of heavy whipping cream for a vegan version.
- Gluten-Free Crust: Use gluten-free Oreo cookies or almond flour in place of regular cookies to make the cheesecake gluten-free.
- Reduced Sugar: Substitute regular powdered sugar with a sugar substitute like stevia or monk fruit to cut down on sugar content.
8. Serving Suggestions:
While the Red Velvet Oreo Cheesecake is perfect on its own, here are some creative ways to serve it:
- Pair it with a scoop of vanilla or strawberry ice cream for a deliciously indulgent treat.
- Add a drizzle of chocolate or caramel sauce on top for an extra layer of flavor.
- Serve with a fresh fruit salad for a lighter contrast to the rich and creamy cheesecake.
9. Storage and Leftovers:
If you have any leftovers (which is rare!), store them in an airtight container in the fridge for up to 3 days. To preserve the freshness, you can also freeze individual slices for up to 1 month. Simply wrap them tightly and thaw in the fridge overnight before serving.
10. Common Mistakes to Avoid:
- Overmixing the Filling: Avoid overmixing the cream cheese mixture, as this can cause the cheesecake filling to become too runny. Mix until just combined.
- Not Letting the Crust Set: Be sure to refrigerate the Oreo crust for at least 10-15 minutes before adding the filling. This will help the crust hold together when sliced.
- Skipping the Chilling Time: The cheesecake needs time to set properly, so don’t rush the chilling process. Let it refrigerate for at least 4 hours or overnight for the best results.
11. FAQs:
Q1: Can I make this cheesecake ahead of time?
Yes! It’s actually best to make this cheesecake a day ahead so it has enough time to set properly.
Q2: Can I use a different type of cookie for the crust?
Yes, you can use chocolate chip cookies, graham crackers, or even gluten-free cookies as an alternative to Oreos.
Q3: How do I make the cheesecake more red velvet?
To enhance the red velvet flavor, add 1-2 tbsp of red velvet cake mix to the cream cheese filling, or use a red velvet cake instead of the Oreo crust.
Q4: Can I freeze this cheesecake?
Yes, this cheesecake freezes well! Wrap it tightly in plastic wrap and freeze for up to 1 month. Thaw in the fridge before serving.
Q5: Can I make this cheesecake without a springform pan?
You can use any cake pan, but a springform pan works best for easy removal. Just be sure to line the bottom with parchment paper.
12. Conclusion:
We hope you enjoy making this Red Velvet Oreo Cheesecake as much as we do! Its creamy, indulgent filling and delightful Oreo crust are sure to make it your new favorite dessert. Whether you’re serving it at a celebration or treating yourself after a long day, this cheesecake is guaranteed to satisfy. Don’t forget to share your results with us in the comments below!
Contact Us
Contact us at [email protected], and we’ll get back to you as soon as possible.
Share your experience with us
good for a nice dinner
nice