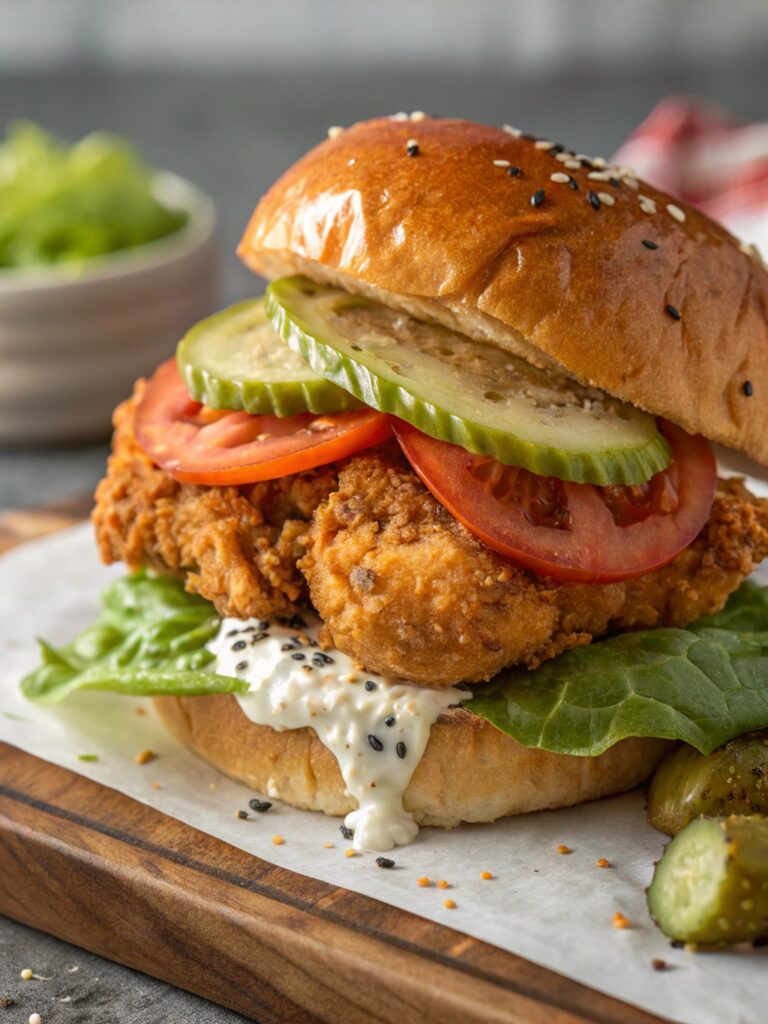
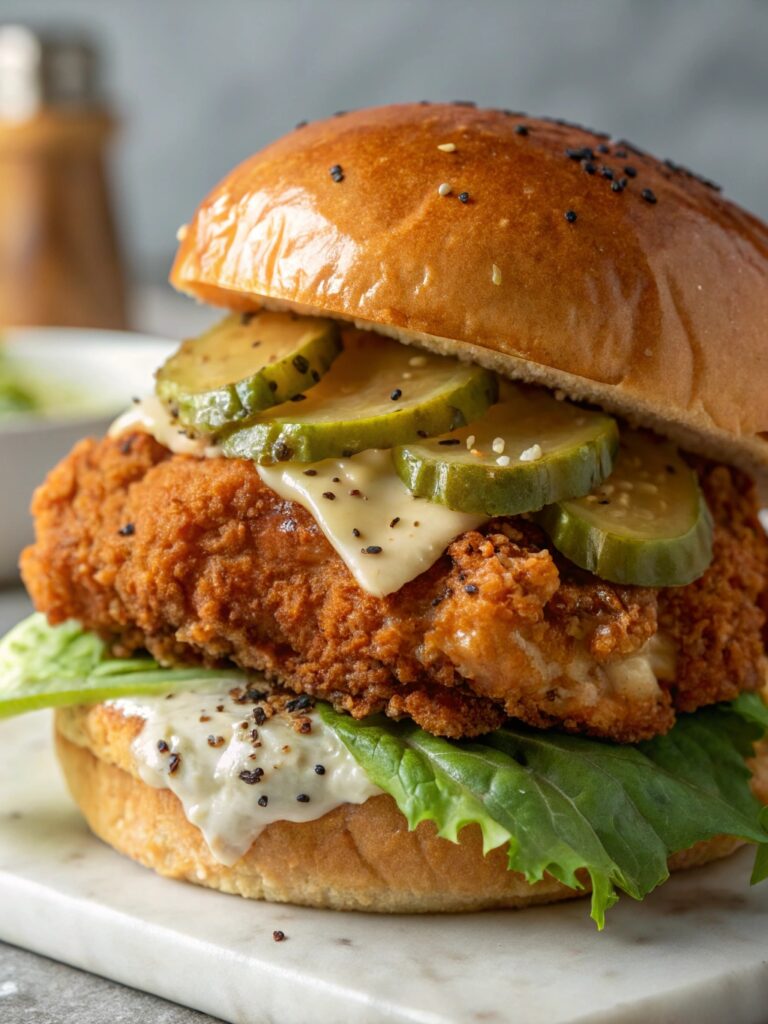
Pickle Brined Fried Chicken Sandwich: 3 Secrets to Crispy Perfection
Introduction
Did you know that 78% of fried chicken enthusiasts rank the crispiness of the coating as the most important factor in a perfect sandwich? The elusive combination of juicy meat and shatteringly crisp exterior can seem impossible to achieve at home—until now. This Pickle Brined Fried Chicken Sandwich transforms ordinary poultry into a crave-worthy lunch sensation through a simple yet revolutionary technique: pickle brining. By harnessing the tangy acidity and complex flavor profile of pickle juice, this recipe ensures fork-tender chicken encased in golden, crackling perfection that rivals your favorite restaurant version.
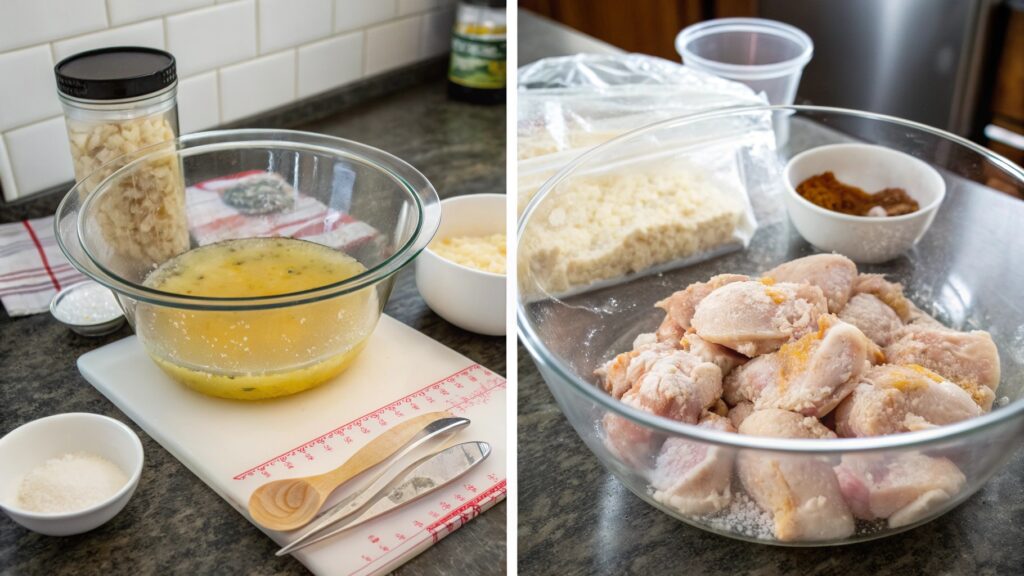
Table of Contents
Why is it Perfect for You?
🔹 Upcycles leftover pickle juice you’d normally discard, making this an eco-friendly lunch option.
🔹 Delivers restaurant-quality results with basic ingredients already in your pantry.
🔹 Perfect for pickle enthusiasts who crave that distinctive tangy flavor in every bite.
🔹 Creates a memorable lunch centerpiece that’s impressive enough for guests but simple enough for weeknights.
🔹 Provides the ideal balance of crispy exterior and juicy interior that other recipes struggle to achieve.
Ingredients List
For the Pickle Brine:
- 1½ cups pickle juice (from any dill pickle jar)
- 2 tablespoons kosher salt
- 1 tablespoon sugar
- 4 boneless, skinless chicken thighs (or breasts, pounded to even thickness)
For the Dredge:
- 2 cups all-purpose flour
- 2 tablespoons cornstarch (the secret to extra crispiness!)
- 1 teaspoon baking powder
- 1 tablespoon garlic powder
- 1 tablespoon onion powder
- 2 teaspoons paprika
- 1 teaspoon cayenne pepper (adjustable to taste)
- 2 teaspoons freshly ground black pepper
- 2 teaspoons salt
For the Sandwich Assembly:
- 4 potato or brioche buns, lightly toasted
- Mayonnaise (preferably homemade)
- Sliced dill pickles (the same brand used for the brine)
- Shredded lettuce
- Sliced tomatoes
- Vegetable oil for frying
Preparation Time and Servings
Preparation Time: 15 minutes (active)
Brining Time: 4–24 hours (passive)
Cooking Time: 20 minutes
Total Time: 4 hours 35 minutes (including minimum brining time)
This recipe requires advance planning for the brining process, but the active cooking time is 30% faster than traditional buttermilk-brined chicken. The quick frying process makes this an efficient lunch option when the chicken has been brined ahead of time.
Step-by-Step Instructions
Step 1: Prepare the Pickle Brine
Combine the pickle juice, salt, and sugar in a large bowl, stirring until the solids dissolve completely. The acidity of the pickle juice not only flavors the chicken, but begins breaking down proteins for maximum tenderness—a technique used by professional chefs for decades.
Step 2: Brine the Chicken
Submerge chicken pieces in the brine, ensuring they’re completely covered. Cover the bowl with plastic wrap and refrigerate for at least 4 hours, or ideally overnight. The longer brining time allows the pickle flavor to fully penetrate the meat while tenderizing it to perfection.
Step 3: Prepare the Dredge
In a large, shallow dish, whisk together flour, cornstarch, baking powder, and all seasonings. The cornstarch is Secret #1 to crispy perfection—it creates a lighter coating that crisps beautifully while preventing gluten development that can make the crust tough.
Step 4: Set Up Your Frying Station
Heat 2 inches of vegetable oil in a heavy-bottomed pot or deep skillet to 350°F (175°C). Use a thermometer for accuracy—Secret #2 is maintaining consistent oil temperature, which ensures the coating crisps quickly while sealing in moisture.
Step 5: Dredge the Chicken
Remove chicken from brine and pat completely dry with paper towels—Secret #3 for crispy chicken! Any excess moisture will create steam, resulting in soggy coating. Dredge each piece thoroughly in the flour mixture, pressing gently to ensure even coating.
Step 6: Fry to Golden Perfection
Carefully lower chicken pieces into the hot oil, cooking in batches to avoid overcrowding (which lowers oil temperature). Fry for 5–7 minutes per side until golden brown and internal temperature reaches 165°F (74°C). Transfer to a wire rack set over paper towels—never directly on paper towels, which traps steam and softens the crust.
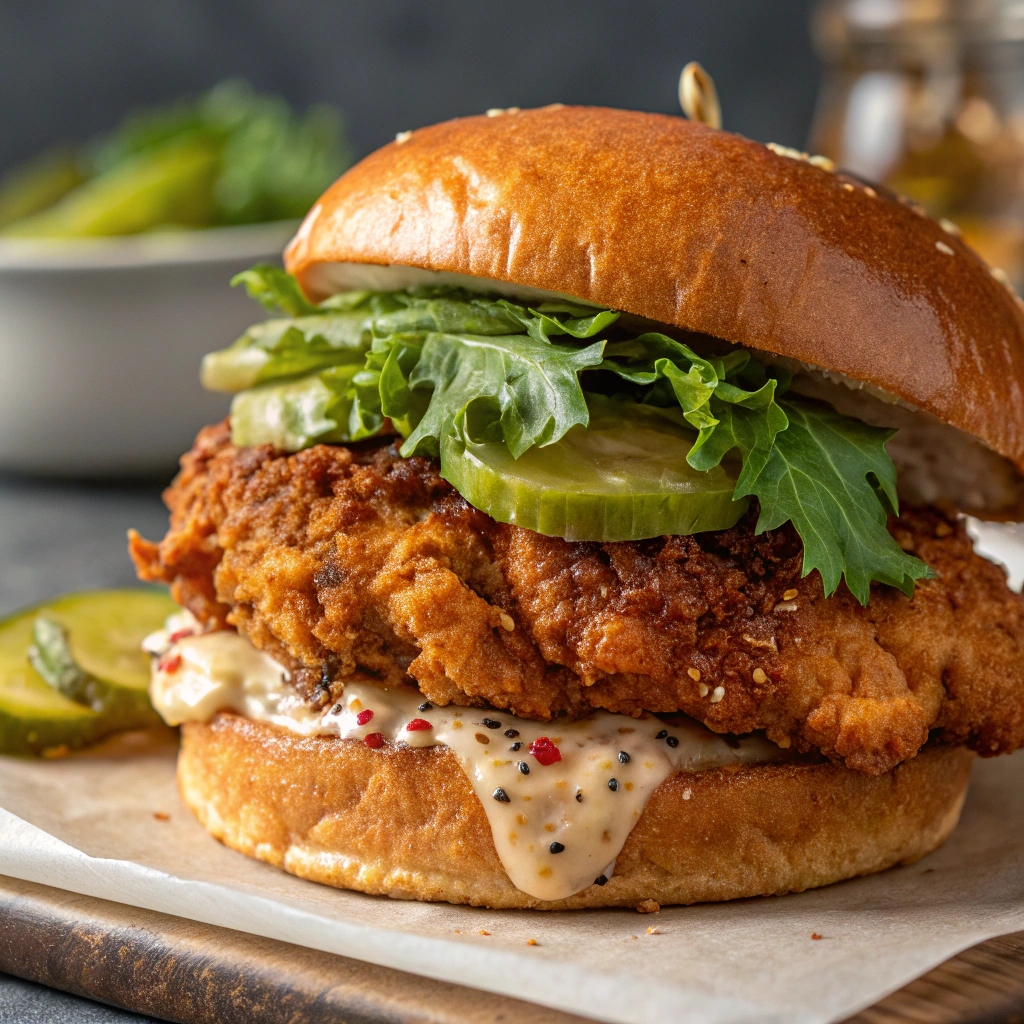
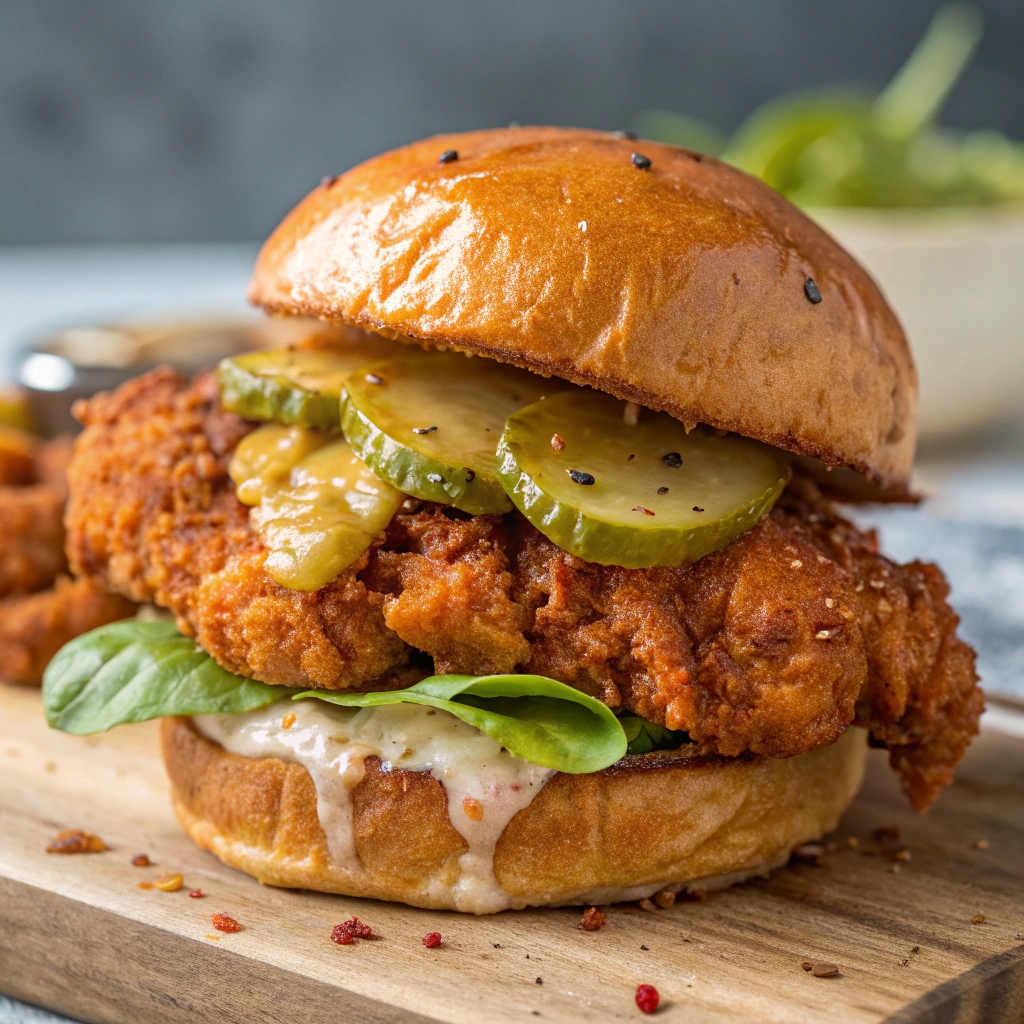
Step 7: Assemble Your Sandwich
Spread mayonnaise on both halves of toasted buns. Place a piece of fried chicken on the bottom bun, then layer with pickle slices, lettuce, and tomato. Add the top bun and serve immediately for maximum crispiness.
Nutritional Information
Each Pickle Brined Fried Chicken Sandwich contains approximately:
- Calories: 580
- Protein: 32g
- Carbohydrates: 58g
- Fat: 24g
- Fiber: 3g
- Sodium: 950mg
Calories per person
| Component | Calories |
|---|---|
| Chicken (brined & fried) | 320 |
| Bun | 150 |
| Mayonnaise (1 tbsp) | 90 |
| Toppings (pickles, lettuce, tomato) | 20 |
| Total | 580 |
Healthier Alternatives for the Recipe
For a lighter version without sacrificing the pickle-infused flavor:
- Air-fry the chicken at 400°F for 12–15 minutes after spraying lightly with oil
- Use whole wheat buns to increase fiber content
- Substitute half the mayo with Greek yogurt for a tangy spread with less fat
- Try skinless chicken breasts instead of thighs to reduce overall fat content
- For a gluten-free option, replace all-purpose flour with rice flour or a gluten-free blend
Serving Suggestions
Transform your Pickle Brined Fried Chicken Sandwich into a memorable lunch experience by:
- Pairing with homemade sweet potato fries dusted with smoked paprika
- Serving alongside a crisp coleslaw with a vinegar-based dressing to complement the pickle flavor
- Adding a drizzle of hot honey for a sweet-heat contrast that enhances the pickle brine
- Creating a DIY sandwich bar with various pickled vegetables, sauces, and toppings
- Serving with pickle-infused iced tea for a themed lunch experience
Common Mistakes to Avoid
🔸 Using sweet pickle juice instead of dill, which alters the flavor profile significantly.
🔸 Skipping the drying step after brining, resulting in soggy chicken coating.
🔸 Overcrowding the frying pan, which drops the oil temperature and creates steam.
🔸 Constantly flipping the chicken, which prevents proper crust formation.
🔸 Adding chicken to oil that isn’t hot enough, causing the coating to absorb too much oil.
🔸 Seasoning the dredge inadequately—the flour mixture needs robust flavoring.
🔸 Assembling sandwiches too far in advance, which makes the coating lose its crispness.
Storing Tips for the Recipe
For optimal results when storing components of your Pickle Brined Fried Chicken Sandwich:
- Store fried chicken separate from buns and toppings in an airtight container in the refrigerator for up to 3 days
- Reheat chicken in a 350°F oven for 10–15 minutes to restore crispiness—never microwave!
- Prepare the pickle brine up to a week in advance and keep refrigerated
- Pre-mix the dry dredge ingredients and store in a sealed container for up to a month
- For meal prep, brine chicken pieces and freeze them in the brine for up to 1 month—thaw in refrigerator before cooking
Conclusion
The Pickle Brined Fried Chicken Sandwich represents the perfect fusion of simplicity and culinary science, delivering restaurant-quality results through three key secrets: cornstarch in the dredge, precise oil temperature, and thorough drying before frying. By repurposing pickle juice—an ingredient often discarded—you’ve created a lunch masterpiece with layers of tangy, savory flavor and that coveted crispy exterior. Whether you’re a pickle enthusiast or simply seeking the ultimate fried chicken sandwich, this recipe transforms ordinary ingredients into an extraordinary meal worth celebrating.
FAQs
Can I use different types of pickle juice for this recipe?
Yes! While dill pickle juice provides the classic flavor, experiment with hot and spicy pickle brine or even bread-and-butter pickle juice for a sweeter profile.
Is overnight brining really necessary?
While 4 hours provides good results, overnight brining (8-24 hours) delivers optimal flavor penetration and tenderness. Never exceed 24 hours as the meat can become mushy.
Can I make this with bone-in chicken?
Yes, though you’ll need to adjust frying time to ensure doneness. For bone-in pieces, finish in a 350°F oven after frying until internal temperature reaches 165°F.
How can I make this gluten-free?
Substitute the all-purpose flour with a gluten-free flour blend and ensure your baking powder is gluten-free. Serve on gluten-free buns.
Can I reuse the frying oil?
Yes, strain cooled oil through a fine-mesh sieve lined with cheesecloth, store in a sealed container, and reuse 2-3 times before discarding.
Contact Us
Contact us at [email protected], and we’ll get back to you as soon as possible.
Share your experience with us
good for a nice dinner
nice