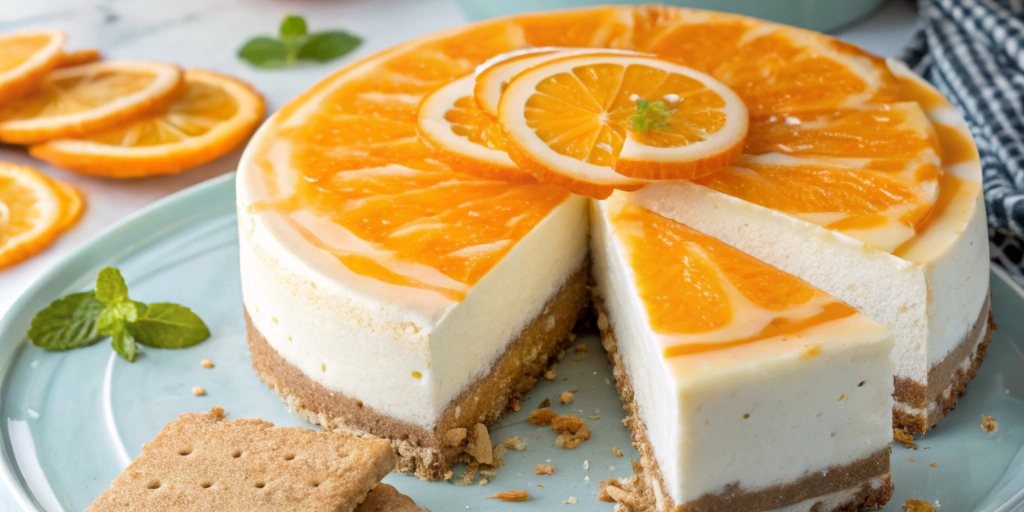
No-Bake Orange Creamsicle Cheesecake: 7 Easy Steps to Bliss
Introduction
Did you know that no-bake desserts save up to 75% of the preparation time compared to traditional baked alternatives? This No-Bake Orange Creamsicle Cheesecake combines nostalgic summer flavors with modern convenience, creating a dessert that’s both impressive and effortless. The creamy, citrusy profile of this orange creamsicle-inspired treat brings together the perfect balance of tangy and sweet—all without turning on your oven. Whether you’re looking for a refreshing summer dessert or a quick solution for unexpected guests, this no-bake cheesecake delivers professional results with minimal effort and maximum flavor.
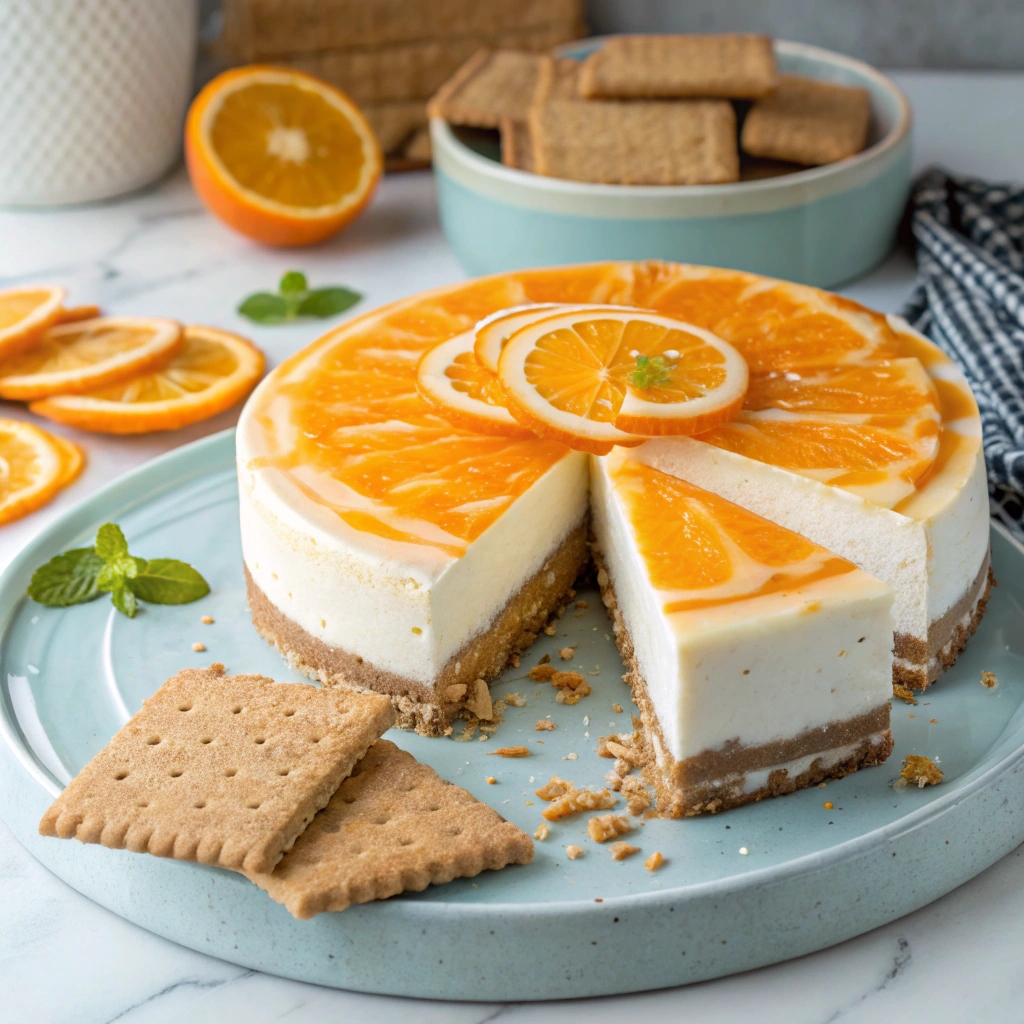
Table of Contents
Why is it Perfect for You?
🔹 Perfect for hot summer days when turning on the oven feels like torture.
🔹 Ideal for busy home cooks who want an impressive dessert without complicated techniques.
🔹 A crowd-pleasing option that satisfies both sophisticated palates and picky eaters.
🔹 Make-ahead friendly, allowing you to prepare this citrus dessert up to two days before serving.
🔹 Combines the nostalgic flavor of orange creamsicle popsicles with elegant cheesecake presentation.
🔹 Requires zero baking skills while still delivering professional-quality results.
🔹 Versatile enough to serve at backyard barbecues or formal dinner parties.
Ingredients List
For the No-Bake Orange Creamsicle Cheesecake that serves 8-10 people, you’ll need ingredients that balance bright citrus notes with creamy richness. Each component contributes to that distinctive orange creamsicle flavor that’s simultaneously refreshing and indulgent:
For the Crust:
- 2 cups graham cracker crumbs (about 14 full sheets, finely crushed)
- 1/4 cup granulated sugar
- 1/2 cup unsalted butter, melted
- Zest of 1 orange (for an enhanced citrus aroma)
For the Filling:
- 16 oz cream cheese, softened (full-fat provides the best texture)
- 1 cup powdered sugar, sifted
- 1 tablespoon pure vanilla extract
- 1/3 cup fresh orange juice (from approximately 2 medium oranges)
- 2 tablespoons orange zest
- 1 tablespoon orange extract
- 1 cup heavy whipping cream, whipped to stiff peaks
- 2 tablespoons unflavored gelatin powder dissolved in 1/4 cup hot water
- Orange food coloring (optional, for vibrant color)
For the Topping:
- 1 cup heavy whipping cream
- 2 tablespoons powdered sugar
- 1/2 teaspoon vanilla extract
- Fresh orange slices and mint leaves for garnish
Substitution Notes: For a lighter version, use Neufchâtel cheese instead of full-fat cream cheese. Dairy-free alternatives work well with plant-based cream cheese and coconut cream. Gluten-free graham crackers make this accessible for those with celiac disease or gluten sensitivity.
Preparation Time and Servings
Preparation Time: 30 minutes
Chilling Time: 4-6 hours (or overnight)
Total Time: 5-6 hours
This No-Bake Orange Creamsicle Cheesecake requires just 30 minutes of active preparation—approximately 40% less time than traditional baked cheesecakes that typically need 50 minutes of prep plus baking and cooling time. The hands-on portion is quick and straightforward, while the refrigerator does most of the work. The extended chilling time makes this perfect for planning ahead, allowing you to prepare this easy cheesecake a day before your event.
Step-by-Step Instructions
Step 1: Prepare the Crust
Create the foundation for your no-bake cheesecake by combining graham cracker crumbs, sugar, melted butter, and orange zest in a medium bowl. Mix until the texture resembles wet sand. Press this mixture firmly into the bottom of a 9-inch springform pan, using the bottom of a measuring cup to compact it evenly. For best results, extend the crust slightly up the sides. Place in the refrigerator while preparing the filling.
Step 2: Dissolve the Gelatin
Sprinkle the unflavored gelatin over 1/4 cup of hot water in a small bowl. Allow it to bloom for 1 minute, then stir until completely dissolved. This crucial step ensures your citrus dessert has the perfect sliceable texture without baking. Set aside to cool slightly but not set.
Step 3: Beat the Cream Cheese Mixture
In a large bowl, beat the softened cream cheese until smooth and fluffy. Add powdered sugar gradually, continuing to beat until completely incorporated. Mix in vanilla extract, orange juice, orange zest, and orange extract. This combination creates the signature orange creamsicle flavor that balances tangy citrus with mellow vanilla notes.
Step 4: Incorporate the Gelatin and Whipped Cream
Slowly pour the dissolved gelatin into the cream cheese mixture while beating on low speed. If using food coloring, add a few drops now for that classic orange creamsicle hue. Gently fold in the whipped heavy cream using a rubber spatula, maintaining as much air in the mixture as possible for that light, mousse-like texture that defines a perfect easy cheesecake.
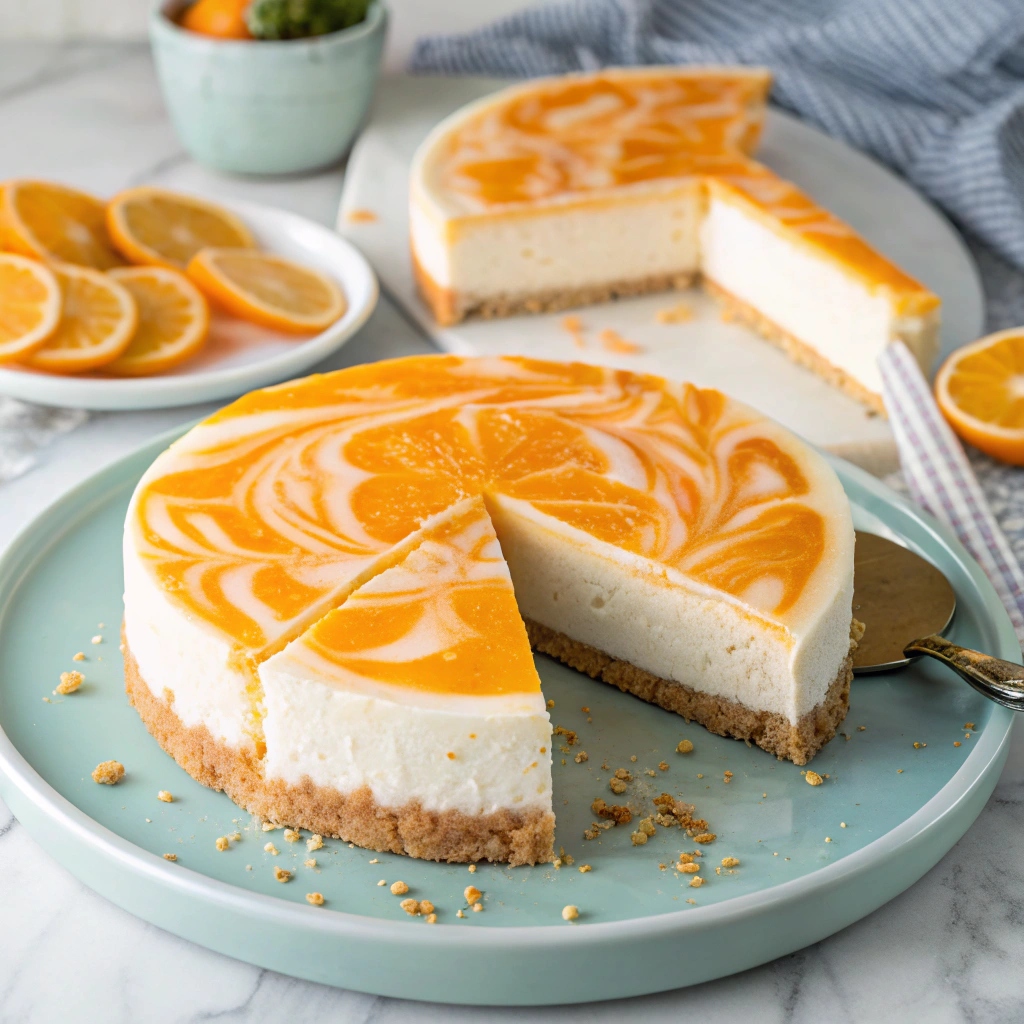
Step 5: Assemble and Chill
Pour the filling onto the prepared crust, smoothing the top with a spatula. Tap the pan gently on the counter to remove any air bubbles. Cover with plastic wrap and refrigerate for at least 4 hours, preferably overnight. This extended chilling time allows the summer dessert to set properly and the flavors to fully develop.
Step 6: Prepare the Topping
Just before serving, whip the heavy cream with powdered sugar and vanilla until stiff peaks form. Spread or pipe this topping over your chilled No-Bake Orange Creamsicle Cheesecake for an extra layer of creamy goodness.
Step 7: Garnish and Serve
Remove the sides of the springform pan carefully. Decorate your citrus dessert with fresh orange slices and mint leaves for a professional presentation. For an extra special touch, add candied orange peel or a light dusting of graham cracker crumbs around the edges.
Nutritional Information
Each serving of this No-Bake Orange Creamsicle Cheesecake (based on 10 servings per cake) contains approximately:
- Calories: 425 per serving
- Protein: 6g
- Carbohydrates: 32g
- Fat: 31g (19g saturated)
- Fiber: 1g
- Sugar: 25g
- Sodium: 230mg
- Calcium: 8% of daily value
- Vitamin C: 15% of daily value
Healthier Alternatives for the Recipe
Transform this indulgent no-bake cheesecake into a lighter version without sacrificing the orange creamsicle flavor you crave:
- Substitute Greek yogurt for half the cream cheese to reduce fat while adding protein.
- Use a granola and date crust instead of graham crackers and butter for added fiber and nutrients.
- Replace up to half the sugar with monk fruit sweetener or stevia for fewer calories.
- Incorporate cottage cheese (blended until smooth) for a protein boost.
- Add pureed white beans to the filling for additional protein and fiber (this surprisingly doesn’t affect the flavor).
- Use agar-agar instead of gelatin for a vegetarian-friendly version of this summer dessert.
Serving Suggestions
Elevate your No-Bake Orange Creamsicle Cheesecake experience with these complementary pairings:
- Serve alongside a small scoop of vanilla bean ice cream for the ultimate orange creamsicle experience.
- Pair with a citrus-infused tea or a mimosa for a brunch-worthy presentation.
- Create a dessert bar with various citrus garnishes and toppings like candied orange peel, toasted coconut, and white chocolate shavings.
- For summer gatherings, offer individual mini cheesecakes in mason jars for an easy-to-serve option.
- Balance the sweetness with a small side of fresh berries tossed in a touch of balsamic glaze.
Common Mistakes to Avoid
🔸 Using cold cream cheese which will result in lumps throughout your no-bake cheesecake.
🔸 Rushing the chilling process—at least 4 hours is necessary for proper setting.
🔸 Overmixing the filling after adding the whipped cream, which deflates the airy texture.
🔸 Using bottled orange juice instead of fresh, significantly reducing the vibrant flavor.
🔸 Adding the gelatin when it’s too hot, which can create lumps in your citrus dessert.
🔸 Forgetting to zest the oranges before juicing them, missing out on essential oils.
🔸 Using a shallow pan instead of a springform, making it difficult to serve neatly.
Storing Tips for the Recipe
Maximize the freshness of your No-Bake Orange Creamsicle Cheesecake with these storage recommendations:
Keep refrigerated in an airtight container or covered tightly with plastic wrap for up to 5 days. The flavors actually improve after 24 hours as the orange and vanilla notes meld together. For longer storage, this easy cheesecake freezes beautifully for up to 2 months—simply wrap individual slices in plastic wrap and then aluminum foil. When ready to enjoy, thaw overnight in the refrigerator for the optimal creamy texture. Add fresh garnishes only after thawing to maintain visual appeal.
Conclusion
This No-Bake Orange Creamsicle Cheesecake represents the perfect marriage of convenience and indulgence, delivering nostalgic summer flavors in an impressive package. With just 30 minutes of active preparation and seven straightforward steps, you can create a dessert that rivals professional bakeries. The vibrant citrus notes balanced with creamy richness make this an ideal finale for any meal, particularly during warm weather months when turning on the oven is the last thing you want to do. Whether you’re an experienced baker or a dessert novice, this recipe promises consistent results and delighted guests. Try it this weekend and discover why this refreshing citrus dessert deserves a permanent place in your recipe collection!
FAQs
Can I make this No-Bake Orange Creamsicle Cheesecake without gelatin?
Yes! Substitute 2 tablespoons of agar-agar powder or 3 tablespoons of cornstarch mixed with a bit of cold water for a vegetarian alternative that still sets properly.
How far in advance can I make this cheesecake?
This no-bake cheesecake can be prepared up to 2 days in advance, making it perfect for entertaining. Add the whipped cream topping and garnishes just before serving.
Can I use a different type of cookie for the crust?
Absolutely! Vanilla wafers, digestive biscuits, or gingersnaps all work wonderfully as alternatives to graham crackers, each bringing a unique complementary flavor.
Why isn’t my cheesecake setting properly?
The most common reasons are insufficient chilling time, improperly dissolved gelatin, or using lower-fat dairy products. Ensure you’re using full-fat cream cheese and allowing at least 6 hours in the refrigerator.
Can I make this recipe in individual serving sizes?
Yes! Portion the crust and filling into serving glasses or mason jars for elegant individual desserts. Reduce the chilling time to about 3 hours for smaller portions.
Contact Us
Contact us at [email protected], and we’ll get back to you as soon as possible.
Share your experience with us
good for a nice dinner
nice